Build a WordPress Website (From Domain to Launch)
Set up, customize, and publish your WordPress site with these clear steps.
Start with WordPress and choose the right version
To build a website using WordPress, choose a domain and host, install WordPress, then add a theme, pages, and useful plugins. You can launch a basic site in a day. Plan extra time for custom design, an online shop, or a large set of pages.
WordPress is a content management system (CMS). It lets you make and update pages without coding each one. A 2021 estimate put WordPress at about 39.5% of all websites. That figure shows its wide use, though the share can change over time.
There are two main options. WordPress.com is a hosted service. It handles much of the server setup, while plan limits shape your themes and plugins. WordPress.org offers free, open-source software that you install on your own hosting account. It gives you more control, but you manage hosting, updates, and backups.
- Choose WordPress.com if you want a simpler hosted setup and its plan features meet your needs.
- Choose WordPress.org if you want more control over themes, plugins, and hosting.
For this walkthrough, the steps focus on WordPress.org with a web host. Read WordPress’s comparison of WordPress.com and WordPress.org before you decide.
Pick a domain and set up hosting
Your domain is the address people type to reach your site. Keep it short, easy to say, and close to your business or project name. Check spelling before you buy, and avoid names that could be mistaken for another brand. Most domain sellers let you search for a name and register it for a yearly fee.
Web hosting stores your site’s files and makes them available online. For a new site, look for a host with WordPress setup, SSL security, daily backups, and support you can reach. Common options include Bluehost, SiteGround, and DreamHost. Compare renewal prices and backup terms, not only the low first-year price.
You can buy hosting and a domain from one firm or keep them separate. If you use separate firms, set the domain’s name servers to the values your host provides. The host’s help page will show where to enter them. Changes may take several hours to reach networks around the world.
- Search for an available domain and register it.
- Choose a plan that fits your site’s size and expected traffic.
- Turn on SSL so your site uses HTTPS.
- Link the domain to the host, then wait for it to connect.
Install WordPress on your hosting account
Many hosts offer a one-click WordPress install in their account panel. Choose the domain, set the site name, and create a strong admin login. Use a new password that you do not use elsewhere. Save it in a trusted password manager.
If your host does not offer one-click setup, use its WordPress install tool or follow its manual setup steps. The manual route calls for a database and WordPress files. It takes more care, so follow the host’s own instructions. Check that the install uses HTTPS before you sign in.
Open your site’s admin area at yourdomain.com/wp-admin, then sign in with the details you set. The WordPress dashboard is where you manage content, themes, plugins, and settings. Start by setting your site title, time zone, and preferred URL format. Remove sample content you do not plan to use.
- Set the site title and time zone under Settings.
- Choose a simple permalink format, such as the post name.
- Check that the site loads with HTTPS on both desktop and mobile.

Choose a theme and shape your site
A WordPress theme controls the look and layout of your site. In the dashboard, go to Appearance and open Themes. Browse the theme directory, preview a few choices, and install one that fits your content. Check that it works on mobile and gets updates from its maker.
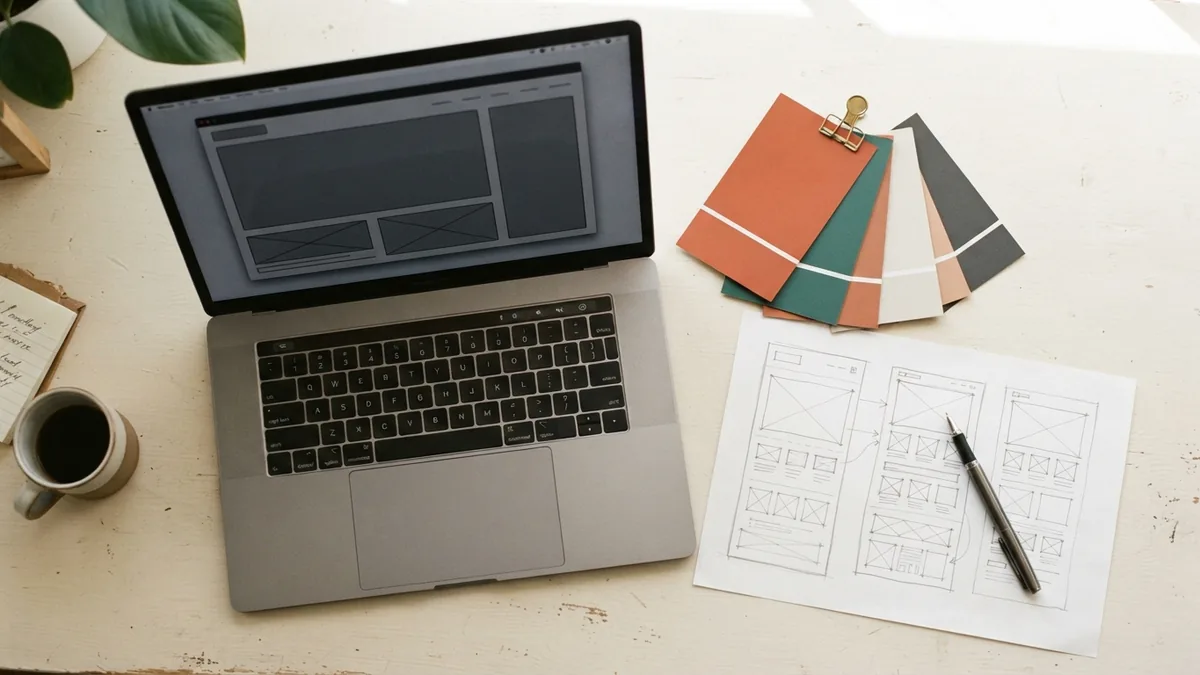
Start with a theme that is close to the look you want. A clean base is easier to adapt than a theme full of features you will not use. Click Customize, or open the Site Editor if your theme supports it. You can then change colors, fonts, menus, headers, and page layouts.
Keep the design easy to scan. Use one or two font styles and a small set of colors. Make the main menu clear, and give each page one main purpose. Preview changes on a phone before you publish them. A tidy design helps visitors find the next step.
Create pages and blog posts
Use Pages for lasting information, such as About, Services, and Contact. Use Posts for dated updates, news, and blog articles. In the dashboard, choose Pages or Posts, then select Add New. The block editor lets you add headings, text, images, and lists as separate pieces.
Give each page a clear heading and a useful next step. For a small business site, start with a home page, an About page, a Services page, and a Contact page. Add a blog only if you can keep it fresh. Use plain headings and short sections so readers can scan the page.
Posts can use categories to group related topics. Add tags only when they help readers find similar posts. Before you publish, check links, image sizes, spelling, and the page on a phone. You can save a draft and return to it later.
- Create core Pages first, then add Posts if your site needs regular updates.
- Set a featured image when it helps explain the post.
- Use preview mode to check how each page looks before it goes live.

Add plugins for the features you need
Plugins add features to WordPress. An SEO plugin can help set page titles, descriptions, and site maps. Examples include Yoast SEO and Rank Math. Pick one, learn its main settings, and avoid installing two plugins that do the same job.
For an online shop, WooCommerce adds product pages, cart tools, and order handling. It can grow into a larger store, so check its payment and shipping needs before launch. An e-commerce theme can shape the shop’s look, while WooCommerce provides the shop features. A theme alone does not take payments or manage orders.
Install plugins from the dashboard by opening Plugins and selecting Add New. Check the plugin’s update history, user reviews, and support notes. Install only what you need. Too many add-ons can slow a site or create conflicts. Keep active plugins updated and remove ones you no longer use.
Check the site and publish it
Before launch, visit every key page as a reader would. Test the menu, contact form, shop links, and any buttons. Check the site on a phone and a computer. Ask someone else to test it too. A fresh pair of eyes can spot a broken link or unclear label.
Confirm that your host’s backups are on and that your login uses a strong password. Set the home page under Settings, then Reading if WordPress shows your latest posts by default. Remove any “coming soon” setting when you are ready. Share the domain only after you have checked that the public site works.
WordPress is easy to change after launch. Add new pages as your needs grow, keep themes and plugins up to date, and check backups from time to time. Start with the core pages and a simple design. Add extra features only when they solve a real need.